
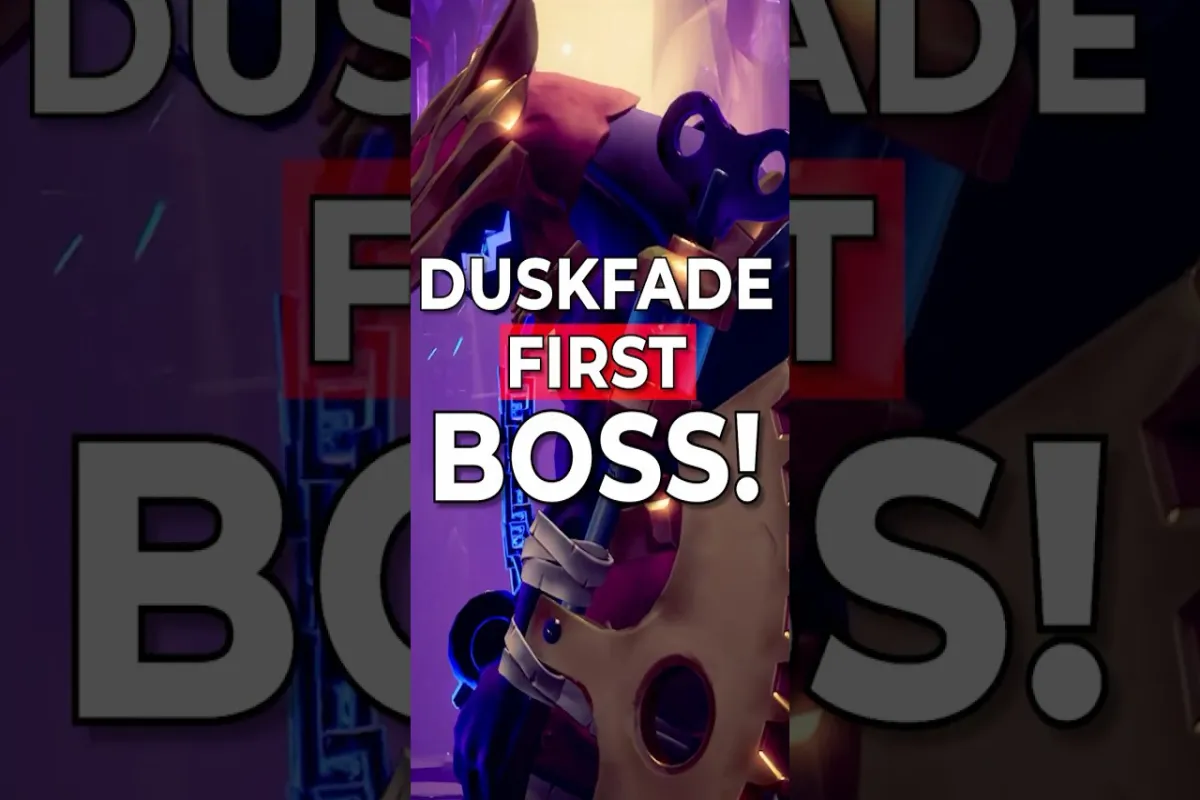
Understanding the Wrath Encounter
Wrath is the second major boss you'll face in Duskfade, and it is the encounter that separates casual players from those who actually internalized the game's momentum system. According to the Duskfade Steam store page, the game leans hard into nostalgic action-platforming with tight aerial combat, and Wrath is built specifically to punish anyone who treats the fight like a standard hack-and-slash duel.
This guide breaks down every phase of the Wrath fight, the tells behind each of its signature attacks, and the healing item loadout that gives you the best chance of clearing it on your first or fifth attempt. If you are still getting comfortable with the basics, start with the broader Duskfade how to play walkthrough before tackling this boss, because Wrath rewards pattern recognition and clean movement more than raw damage output.
Many players get stuck on the second phase where Wrath starts mixing platforming hazards into the arena, and a smaller number never recover from the final phase because they burn all of their healing items too early. Below is the breakdown that has worked across the community, organized into opening assault, escalation, and final stand sections, with item tables you can copy directly into your run.
Wrath Phase 1 — Opening Assault
The first phase of Wrath is designed to teach you its core telegraphs, and it is also the easiest section of the fight to die in if you panic against the opening pressure. The boss stays grounded for the entire phase, uses slow horizontal sweeps, and telegraphs every heavy attack with a roughly 1.2-second wind-up animation that flashes its shoulder plates a deep red color before each commit.
Attack Patterns in Phase 1
| Attack | Telegraph | Dodge Direction | Punish Window |
|---|---|---|---|
| Shoulder Charge | Red flash on shoulder plates | Backward + jump | 1.5s after dash |
| Ground Slam | Both hands raised overhead | Sideways away from AoE | 0.8s after impact |
| Three-Hit Combo | Right-left overhead swing | Backward, then wait | 1.2s after third swing |
| Ember Spit | Mouth glows orange | Diagonal jump | 0.6s on landing |
The Shoulder Charge is the move you will see most often, and it is also the attack where most players take free damage because they try to punish too early. Wait until the boss has fully committed to the dash and skidded to a stop on the far side of the arena, then dash in for two Quick Slash hits before backing off to mid-range. Rushing in before the skid ends guarantees a follow-up swing into your face.
If you keep dying to the Ground Slam, the issue is almost always that you are dodging too late rather than too early. The slam's hitbox is generous, and the Ember Ring that radiates outward from the impact point lingers for roughly half a second after the dust settles. Always dodge sideways first, then jump over the trailing ring on your second input, because the ring's damage zone is taller than it looks on first attempt.
Healing and Resource Use in Phase 1
| Slot | Recommended Item | Reasoning |
|---|---|---|
| Active | Sunleaf Salve | Restores 35% HP on use, shortest animation |
| Passive | Ember Stone Charm | +10% fire resistance, useful in later phases |
| Reserve | 2x Binding Wrap | Saves you from a one-shot combo chain |
Phase 1 ends once Wrath drops to roughly 70% HP, which is when the arena floor collapses into the spike trap layout and the fight transitions into phase 2. Do not burn your Sunleaf Salve before the transition, because the incoming phase 2 opening volley will likely chip you for a second hit right after the cutscene ends.
Wrath Phase 2 — Escalation and Platforming
This is the section that breaks most players, because Wrath now combines its melee kit with environmental hazards on a raised platform arena. Spikes rise from the floor in timed waves, and the boss occasionally retreats to a high platform to rain down projectile volleys. If you want a deeper look at how the platforming connects to the boss design, the Wrath boss phase guide covers every safe-zone layout in detail.
Phase 2 Attack Changes
| New Move | Behavior | Counter |
|---|---|---|
| Aerial Dive | Wrath leaps into the air | Dodge away on descent, punish on landing |
| Projectile Volley | Three fireballs in a fan | Dash through the middle gap |
| Spike Trigger | Boss slams to summon spikes | Jump twice, then double-air-dash |
| Enrage Stomp | Faster combo cadence | Play defensively, no punish window |
The Aerial Dive is the move that catches people off guard because the telegraph is much shorter than the Ground Slam from phase 1. Wrath crouches for about 0.6 seconds before launching upward, and the hitbox on the landing spike is large enough that a side-dash alone will not always save you. Combine a side-dash with an immediate jump on contact with the floor for the safest result, then punish the boss while it is still recovering from the impact.
When Wrath retreats to the raised platform, the Projectile Volley becomes your main source of damage during that window. The middle fireball is always slower than the two side fireballs, so dashing diagonally into the middle path lets you close the distance for free. Once you are under the platform, you can land two full combos before the boss drops back down, which is enough damage to push it toward phase 3 if you executed phase 1 cleanly.
Safe Zones and Spike Timing
The spikes follow a predictable rhythm that repeats every eight seconds: they rise in two waves separated by a 1-second pause. The first wave covers the left and right thirds of the arena, and the second wave covers the center plus the corners. The only safe tile during both waves is the strip directly beneath Wrath's platform, which is exactly where you want to be anyway because that strip doubles as your approach path for the Projectile Volley dodge.
If you ever lose track of the rhythm, listen for the audio cue: a low metallic hum that escalates right before each wave. Experienced players use the hum to time their dashes without looking at the floor, which frees up visual attention for tracking Wrath's next attack.
Wrath Phase 3 — The Final Stand
Once Wrath reaches 30% HP, its shoulder plates crack open, exposing a glowing core, and the fight enters its final phase. The boss moves noticeably faster, its combos chain into each other without the usual recovery pause, and one new attack is added to the rotation: the Core Burst, a screen-wide radial blast that deals massive damage if you do not have a Binding Wrap ready when it fires.
Phase 3 Attack Rotation
| Move | Damage Risk | Mitigation |
|---|---|---|
| Core Burst | One-shot at under 50% HP | Use Binding Wrap, then dash outward |
| Flurry Combo | 5-hit chain | Parry the third hit |
| Swooping Dive | Aerial charge | Jump late, punish mid-air |
| Ground Explosion | AoE centered on boss | Stay at mid-range, do not approach |
The parry window on the Flurry Combo is tight, but it is consistent across runs and easy to muscle-memory once you have seen it twice. Wait until the third swing of the chain, then tap parry on the exact frame the weapon makes contact. Doing it earlier will get you punished by the fourth and fifth hits, while doing it later will simply not register and waste your cooldown for the next combo. Players who never practiced parrying against the early-game enemies will struggle here, because the timing window is the same as the basic training dummy in the first area.
If you are running low on healing items at this point, the Ember Stone Charm you equipped at the start of the fight will reduce the Core Burst damage enough that you can survive it without a Binding Wrap on hand. It will not save you from a full-health combo chain, but it does mean you can save your consumables for the cleanup damage window after Wrath staggers.
Ending the Fight
Wrath has no post-fight invulnerability period longer than a standard enemy, so the moment you see the boss stagger after the final Core Burst, unload your entire combo chain without pause. The fastest recorded clear in the community is just under four minutes, but most players finish the fight somewhere between five and seven minutes depending on how often they heal and how cleanly they handle the spike waves.
Once Wrath collapses, the arena reverts to its pre-fight state and the path forward opens up into the next region. If you are prepping for the boss that comes immediately after Wrath in the main progression, the how to beat Guayota guide covers that encounter with the same phase-by-phase structure used here.
Recommended Build and Item Loadout
Your build going into Wrath matters as much as your execution during the fight. Based on community testing reported by players on the official Discord and aggregated across speedrun leaderboards, the most consistent setup uses a fast light weapon, a single ranged option for the projectile phase, and two healing consumables with at least one Binding Wrap in the rotation.
| Slot | Best Pick | Why It Works |
|---|---|---|
| Weapon | Quick Slash | Fastest swing speed, best stagger on Wrath |
| Ranged | Ember Bow | Pierces projectile volleys, long mid-range |
| Active Heal | Sunleaf Salve | 35% HP restore with no wind-up delay |
| Reserve Heal | Binding Wrap | Survives one-shot attacks like Core Burst |
| Charm | Ember Stone Charm | +10% fire resistance, cuts Core Burst damage |
| Trinket | Mirror Shard | One-time revival on death during the encounter |
The Mirror Shard trinket is the single biggest carry item for this fight, because it gives you one full revive on death during the Wrath encounter only. Even if you never end up needing it, knowing it is equipped lets you play more aggressively in phase 3, which is where most players otherwise stall out because they are afraid of getting punished for committing to long combos.
Avoid heavy weapons like the Stonebreaker Hammer, which can one-shot Wrath's posture bar but leaves you open to every multi-hit combo in phase 3. The damage tradeoff is not worth the loss of mobility, especially once the floor spikes start cycling and you need to reposition on a moment's notice. Light and fast wins this fight, and patience wins the rest.
Frequently Asked Questions
What level should I be before fighting Wrath?
Most players report that Wrath is balanced for characters who have completed at least the first three areas of the main campaign, with Quick Slash upgraded at least once and at least two Sunleaf Salve stacks in inventory.
Can I skip Wrath through a different path?
No. Wrath is a mandatory story boss that gates the path to the next region, although the optional side bosses that surround its arena can be completed before or after the encounter without affecting main progression at all.
What happens if I run out of healing items mid-fight?
You will either need to restart the encounter or rely on the Mirror Shard trinket's one-time revival. Wrath does not drop healing items during the fight, so managing your Sunleaf Salve and Binding Wrap usage across the three phases is the single biggest resource decision in the run.
Is the Wrath fight easier on lower difficulty settings?
Yes. The boss's attack speed, combo length, and Core Burst damage all scale down on easier settings, but the core phase structure, safe zones, and spike timing remain exactly the same. Learning the patterns on an easier difficulty is a valid strategy if you want the muscle memory before attempting the harder version on a fresh save.
Does parrying work against every Wrath attack?
No. Only the third hit of the Flurry Combo in phase 3 can be