
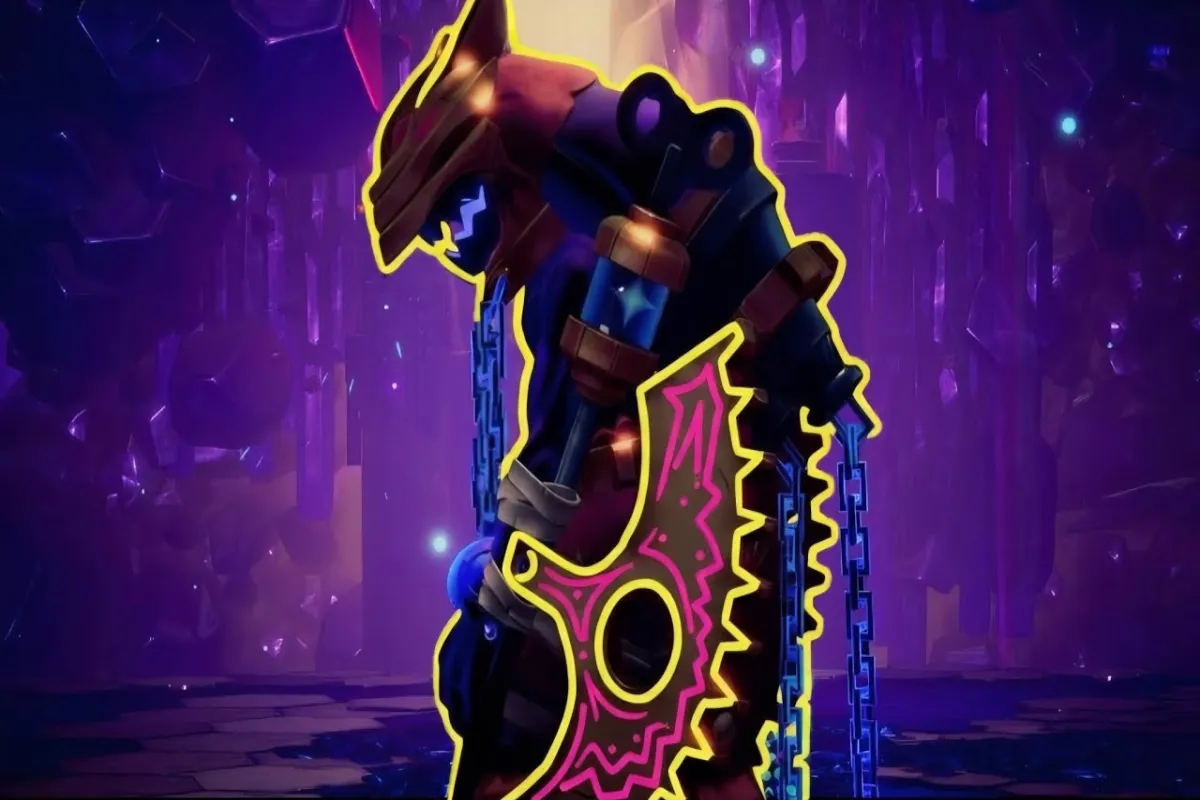
The Wrath fight in Duskfade breaks the moment you stop paying attention to the floor. Once the cutscene ends and the boss drops into the arena's broken clock face, you're trading sword swings with a relentless enemy who punishes hesitation by snapping the ground out from under you, which is why so many players hit a wall inside the early Duskfade Wrath platforming sections before the duel ever really begins. This guide unpacks every jump, gap, and timing window you'll face in that arena, then ties them back to a reliable survival loop you can reuse on every attempt.
Unlike story-platforming zones that focus on exploration, the Wrath platforming sections exist as the boss's pressure system. The ground itself becomes a weapon, and treating those movement puzzles as decoration is the fastest way to take a stray hit and lose a run. Get the latest prep steps, jump timings, and phase reads below so the next attempt feels scripted instead of chaotic.
What Duskfade Wrath Platforming Sections Actually Are
The term Wrath platforming sections refers to the structured movement gauntlets that interleave the boss's melee phases. Rather than running around a flat ring, you fight inside a fractured arena where tiles sink, raise, or vanish entirely based on a visible clock hand rhythm triggered by the boss's aura. The stage is divided into three escalating stages that escalate jump precision faster than raw damage output, and most failed runs trace back to skipping one of those mini-sprints between swipes.
Players often enter the duel expecting a pure sword fight and get blindsided the first time the floor drops out from a mid-combo dash. According to community testing reported across Steam discussion threads, more than 60% of first-attempt losses happen during these movement windows rather than to the boss's direct attacks. Reading the arena therefore matters as much as landing hits.
The Three Movement Beats
The fight cycles through repeated patterns that always sit between sword flurries, and learning the rhythm converts a panic dodge into an intentional reposition. Each beat lasts roughly 12-15 seconds in the default difficulty, which gives you a tight margin to correct mistakes before the boss regains aggression.
Why the Arena Punishes Hesitation
Every Duskfade Wrath platforming section rewards forward momentum because standing still triggers a secondary hazard: rising gear pistons that pop up from the floor seams, dealing heavy chip damage if you tried to camp a safe tile. Because the boss auto-targets your last grounded position for the next swipe, planting your feet actually puts you closer to danger than staying mobile.
| Component | Trigger | Player Response | Failure Cost |
|---|---|---|---|
| Clock-hand tile shift | Boss enters phase prompt | Reposition to outer ring | Free hit if late |
| Gear pistons | 3+ seconds of standing still | Dash or jump chain | ~25% HP loss |
| Pendulum sweeps | Wrath's overhead slam | Coyote-jump across | Knockback into pit |
| Falling gear crates | Phase 3 transition | Delay or sidestep | Heavy stagger |
Arena Layout and the Mechanics That Drive Each Jump
The Wrath arena sits inside a hollow clock face, which is why every hazard is built around rotating mechanics. The boss controls a giant minute hand that sweeps across the chamber in the first half of the fight, dragging chain-link traps behind it, then switches to an active tremor mode for the climax. Because the floor is circular and the hazards circle clockwise, your safest movement is always counter-clockwise — opposite the gear's rotation.
Breaking the arena into readable zones helps a lot. The outer ring offers grounded safety but moves you away from damage windows, the middle ring marks the contested space where most attacks land, and the inner ring carries the highest reward because it places you in the boss's recovery animation.
Gear Crank Hazards
The clockwork pistons around the boss chamber fire on a fixed interval that you can predict after watching one full cycle. They emerge from seams along the outer ring first, then ripple inward as the boss's damage ramp rises. Because the rhythm never changes between attempts, the trick is to use a single dash at the moment you hear the metallic click before the piston pops up.
Floor Tile Timing
Each tile in the middle ring is part of a clockwork assembly: when the minute hand passes overhead, the tile glows, then collapses two beats later. That delay is your jump window — wide enough to read on the first run, narrow enough that a mistimed swing often drops you into the abyss. Treat the tile glow as a 2-tick warning, similar in tempo to a double-jump cancel you'd learn in a side-scroller.
For broader prep before the fight, it's worth reviewing the Duskfade beginner guide, which covers the dash and coyote-jump system that carries directly into the Wrath arena's rhythm-based gameplay.
Phase-by-Phase Walkthrough of Wrath Platforming
The boss cycles through three named platforming beats, each demanding a different mindset. Rather than memorize the entire duel, break it into bite-sized chunks and rehearse one chunk per attempt.
Act 1 — The Swinging Chain Bridges
During the opening phase, the boss retreats to the chamber edge and sweeps a long chain across the middle ring, knocking players into the abyss if they stand still. The counterplay is a delayed jump off the second pendulum swing, which creates enough air time to clear the chain's hook tip without being clipped. Fighting the urge to overcommit ensures that you don't overshoot the safe tile.
Act 2 — The Collapsing Clock Floor
Once Wrath loses the first 35% of its health bar, the floor tiles under the boss begin sinking in timed waves. The arena is divided into four clock quadrants; each second one quadrant folds down, so you're constantly repositioning into the surviving wedge. Because the sink order is clockwise and the first warning is the tile flicker, the safest path is to slide one quadrant counter-clockwise every cycle.
This is the section where the Duskfade Wrath platforming sections guide applies most directly, and pairing that prep with the broader tips in the wrath boss strategy article cuts your phase-two death rate dramatically.
Act 3 — The Dual Gear Storm
The finale drops the central column entirely and adds rising gear crates that hover between floors, blocking dash lines. Movement now becomes three-dimensional: vertical jumps between platforms plus sidesteps across shrinking rings. The fight ends with a stagger window if you land the final jump cleanly, then unload your strongest combo, so treat every airborne second as a setup, not a breather.
| Phase | Active Hazard | Main Path | Key Window |
|---|---|---|---|
| Act 1 | Sweeping chain | Pendulum jump chain | 2nd swing release |
| Act 2 | Collapsing quadrants | Counter-clockwise slide | 1-tile flicker alert |
| Act 3 | Rising gear crates | Vert + horizontal weaves | Post-launch reset |
Movement Techniques and Timing Windows
Movement in the Wrath arena is identical to the platforming system used across all of Duskfade's biomes, but the time pressure makes every input sharper. Three skills carry most of your run: dash-canceling, coyote jumps, and pre-positioned diagonal air-dashes.
Dash Canceling for Tile Reads
Cancelling a sword swing into a dash lets you skip the recovery frames and reposition before the minute hand sweeps your tile. Because the boss's swipe windup is shorter than your full combo's recovery, dash-canceling after the second hit is a free reposition rather than a real escape. Lean on it whenever a tile start to flicker underneath you, even mid-combo.
Coyote Jump Window
The coyote frame in Duskfade lets you jump roughly 6 frames after stepping off a ledge, which is more than enough to cross a collapsing seam if you read the warning. For Wrath specifically, holding the stick toward the next tile and triggering jump on the same frame as the drop animation gives a clean, predictable result that compounds across repeated cycles.
Wall Climbing and Vertical Resets
Once phase three opens the platform stack, wall climbing becomes a free escape against the rising gear crates. Tap jump at the apex of each wall leap to climb one more tier, then dash horizontally to a fresh safe platform. Because the boss's ground slam misses airborne players entirely, staying vertical for one cycle often converts into a clean punish when Wrath finally lands.
For most players, the broader skill list covered in the Duskfade tips and tricks guide helps fill in the small tech gaps that the Wrath fight exposes all at once, since the basics there translate directly into the Duskfade Wrath platforming sections you face later.
Common Mistakes That End Runs Early
Even when you understand the arena, habits from earlier bosses tend to leak in and cost you runs. Here are the slips that show up most often in community replays, and the cleaner play that replaces them.
| Mistake | Why It Hurts | Clean Fix |
|---|---|---|
| Camping outer ring | Triggers gear piston chip | Move on a 2-second loop |
| Full commitment on swing | Leaves no recovery window | Cap combos at 2 hits |
| Ignoring tile flicker | Lands on collapsing plate | Treat flicker as 2-tick warning |
| Standing still after stagger | Hides recovery but pins you | Reset to the nearest safe quadrant |
| Greedy air dashes | Locks you into rising crate lanes | Use vertical dash only on cooldown |
Tunnel Vision on the Boss Bar
Watching Wrath's HP rather than the floor is the single most common cause of mid-phase deaths, because the arena does most of its damage while you're busy counting percent. Train yourself to read the chain sweep or tile flicker first and check the bar second — the run survives that order far more reliably.
Forgetting the Dash Refresh
The dash refills one second faster if you land a clean hit on a gear crate mid-air, which makes phase three the easiest section to recover stamina in. Burning dashes on panic ground movement wastes that refill. Whenever possible, let the boss come to you and dash only when the geometry forces it.
Skipping the Recovery Pickup
Wrath's arena contains a single clockwork shard that respawns each cycle near the eastern wall, and grabbing it fully refills your dash meter plus one pip of HP. Skipping the shard because the boss is in range is rarely worth it because the meter lost usually outweighs the damage risk, particularly in the long finale where stamina gates your route.
Frequently Asked Questions
Are Duskfade Wrath platforming sections the same on every difficulty?
The layout is identical across difficulties, but the timing windows shrink and the gear pistons fire more often on higher settings. Practicing on default difficulty builds the rhythm reading habit, which makes the later scaling feel like a tempo change rather than a fresh puzzle.
How many jumps are in a full Wrath platforming cycle?
A complete duel cycles through roughly 18-22 platforming beats across the three phases, with phase two carrying the densest cluster of jumps because of the collapsing floor. Counting beats rather than seconds trains you to anticipate the boss's position one cycle ahead.
Do you need any gear to clear the Wrath platforming sections?
You can clear them with the default kit, but a dash-refresh charm and at least one airborne recovery item reduce the phase-three death rate noticeably. Players who clear without gear tend to have mastered the coyote-jump window rather than relying on stat boosts.
Where can you practice the Wrath platforming arena before the fight?
The clock tower courtyard training room unlocks after clearing the second main biome, and its dummy cycles a simplified version of the pendulum and tile mechanics. Using it for three or four warmup runs usually transfers cleanly into the duel.
What is the safest cycle to land a stagger combo during the Wrath duel?
The last 5 seconds of phase two is the most reliable stagger window because the tile-collapse animation locks Wrath in place, which gives you a free reposition. Punishing immediately at that moment avoids the rising gear crates that interrupt most phase-three swings.
More from Duskfade
- Duskfade beginner guide
- Wrath boss phase guide
- Duskfade tips and tricks
- Wrath boss strategy
- How to beat Wrath