
What Kind of Story Does Duskfade Tell?
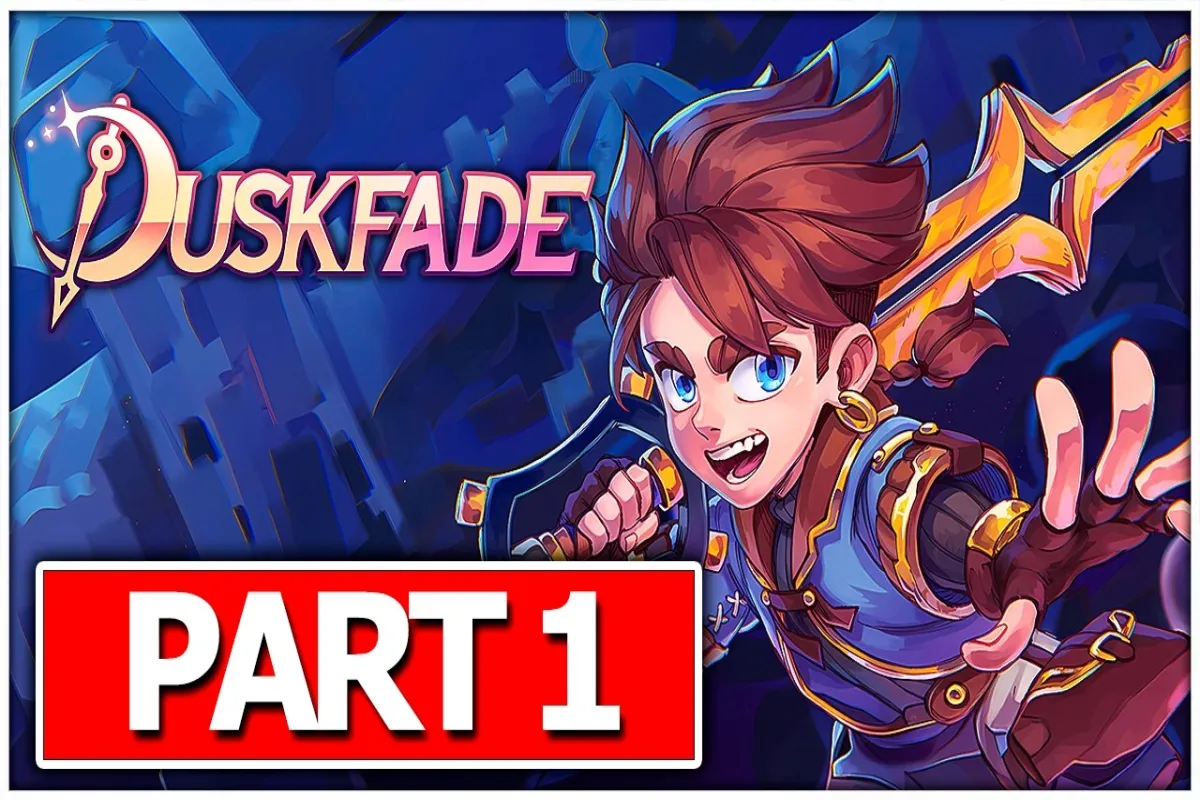
Duskfade is a single-player action platformer built around a deeply personal narrative about nostalgia, loss, and the slow process of moving forward. According to the Duskfade Xbox Wire announcement, the campaign follows a protagonist grappling with grief while a dreamlike world literally reflects and reshapes itself around their emotional state. Every act, area, and boss in this Duskfade story walkthrough ties directly to those themes, which is why the game feels less like a level-by-level platformer and more like a guided journey through memory.
This walkthrough is designed for players who want the full story experience without wasting time on dead ends or misallocated upgrades. It maps the campaign into four thematic acts, flags the collectibles that matter for understanding the ending, and points out the boss fights that double as story milestones. If you have not yet picked up the game, the Duskfade Steam store page outlines the system requirements and the demo link for trying the first acts before committing.
Duskfade's story is also tightly woven with its movement system. As the PlayStation Blog writeup describes, every dash, wall-run, and aerial combo is choreographed to reinforce the emotional beat of the current scene. Understanding where the narrative turns sharp will help you anticipate those mechanical shifts, so getting the full picture before diving in is genuinely worth the read.
Act 1: Setting Foot in the Fade
The opening act of any Duskfade story walkthrough is deliberately slow. The protagonist wakes in a washed-out dreamscape, learns the basic movement kit, and meets the first companion who frames the central conflict: something has been lost, and the Fade is the space where memory bleeds into reality. Combat introduces the standard sword combo, the aerial launcher, and the parry window that returns across every boss encounter in the campaign.
Expect the first act to run roughly two to three hours depending on how thoroughly you explore. The pacing is generous because the developers want players to internalize the movement vocabulary before the world opens up. Beginners often find this section intuitive; if you need help with the early mechanics, our Duskfade beginner guide covers the basics in more detail without spoiling the story beats.
The First Real Choice: Heart or Edge
Around the midpoint of Act 1, you receive your first meta-currency drop and can spend it at a shrine. You have two upgrade paths: Heart, which boosts healing effectiveness and unlocks passive health regeneration, and Edge, which increases attack damage and combo speed. The story does not care which path you take, but the remainder of the campaign will feel substantially different because the optional dialogue branches and the final-scene pacing both shift depending on your dominant investment.
| Path | Best For | Story Implication |
|---|---|---|
| Heart | Surviving longer fights and exploring off the beaten path | Unlocks extra dialogue scenes with companion NPCs |
| Edge | Players confident with combos and parry timing | Shortens most boss fights in Acts 2 and 3 |
Many players default to Edge because damage feels immediately rewarding, but if this is your first playthrough and you want to see every narrative beat the campaign offers, Heart is the safer choice in Act 1. You can respec at any shrine after Act 2, which removes any long-term anxiety about the decision.
First Boss Encounter: The Hollow Warden
The first named boss arrives near the end of Act 1 and serves as a soft tutorial for the parry timing that defines every later fight. The Hollow Warden is slow, telegraphed, and visually maps to the protagonist's first clear memory of the loss. The fight is built around three phases, with a mid-fight cutscene that fades into a smaller arena where the second phase begins, which is the game's standard pattern.
| Phase | Mechanic | Recommended Response |
|---|---|---|
| Phase 1 | Slow overhead swings | Bait the swing, punish with two-hit combo |
| Phase 2 | Adds projectile shockwaves | Parry the shockwave, then close distance |
| Phase 3 | Continuous spin attack | Jump-cancel the spin finisher, punish the recovery |
The first phase is the easiest to learn from, while the second phase's projectiles are the most important mechanic to internalize because every mid-campaign boss layers the same pattern. The third phase is generous enough to allow mistakes, which is intentional; the game wants you to win this fight and feel confident heading into Act 2.
Act 2: The Mid-Campaign Pivot
Act 2 is where the Duskfade story walkthrough shifts from a tutorial-feeling platformer into a layered narrative. The world fractures into multiple biomes, each tied to a specific memory fragment, and the companion NPC introduces the concept of the Echoes — lingering emotional imprints that you can resolve or ignore. Resolving them unlocks optional cutscenes that add significant context to the third act's emotional climax.
This is also the point where the camera system tightens up, and enemies start layering projectile patterns. The parry window becomes much smaller, and the aerial launcher gains a critical-hit property that rewards elevation. If you have been experimenting with the demo, the Duskfade demo walkthrough covers the early boss archetypes and the same defensive principles apply here, even though the encounter difficulty is noticeably higher.
Echoes, Memories, and Missable Lore
The Echo mechanic is the single most important missable element in the campaign. Each Echo corresponds to a specific memory fragment, and resolving three of them in a single act unlocks a bonus dialogue scene with the companion. There are roughly twelve Echoes in Act 2 alone, and the game gives you no tracker for which ones you have missed, which is why community testing consistently flags this section as the most replayed part of the campaign.
| Echo Type | Location Hint | Story Reward |
|---|---|---|
| Hidden Memory | Off-path alcoves behind breakable walls | Adds Act 3 dialogue variant |
| Character Echo | Near boss rooms, after the fight ends | Reveals a backstory detail |
| Environmental Echo | At the highest point of each biome | Unlocks a short cinematic |
The Character Echo near each boss room is the easiest to miss because the game nudges you toward the next checkpoint immediately after the boss dies. Pause, look around, and interact with the glowing silhouette before moving on. The Hidden Memory Echoes are also easy to skip because the breakable walls blend with the environment once you have cleared the area, so smash every suspicious wall you encounter before leaving a room.
Act 3: The Final Ascent
Act 3 is the climax of the Duskfade story walkthrough. The protagonist confronts the central antagonist — a literalized version of the grief they have been running from — across a sequence of boss fights that each test a different movement mechanic. The narrative pacing also inverts: instead of unlocking new abilities, you lose access to certain ones temporarily, forcing you to rely on the fundamentals you built back in Act 1.
This is where the Heart-versus-Edge decision from earlier pays off. A Heart-focused build lets you survive the long, drawn-out final boss phases, while an Edge-focused build lets you cut through the damage windows faster. Neither is wrong, but the emotional ending scene differs slightly based on your dominant path, and the music cue that plays during the Veil Throne choice also adapts to your build.
The Veil Throne and the Final Choice
The ending of Duskfade revolves around a single binary choice presented at the Veil Throne. You can either step into the Fade and accept the cycle of memory, or step back into the waking world and close the door behind you. The choice is framed as acceptance versus release, and the final cutscene plays out differently for each, with the credits music and the post-credits scene both adapting accordingly.
| Choice | Resulting Ending | Unlockable Reward |
|---|---|---|
| Accept the Fade | Memory-focused ending, credits roll over a remake montage | New Game+ with the Echo Weapon |
| Close the Door | Forward-looking ending, credits roll over a sunrise scene | Cosmetic outfit for the protagonist |
If you want to see both endings without replaying the entire campaign, Manual Save before the Veil Throne is the only way. The game autosaves right after you commit to the choice, which means autosave-only players will have to start a New Game+ run to see the alternate ending. The autosave behavior is one of the most-discussed design decisions in community testing, and the developers have confirmed it is intentional because the choice is meant to feel irreversible.
What the Choice Symbolically Means
Both endings are valid readings of the protagonist's arc, and the Duskfade story walkthrough does not privilege one over the other. Accept the Fade reads as a decision to live with the memory rather than fight it, while Close the Door reads as a choice to grieve and move forward. The credits roll music and the post-credits scene both reinforce the chosen reading, which is why seeing both endings feels substantively different rather than cosmetically distinct.
For a deeper analytical breakdown of the Veil Throne scene and the thematic layers built up across the earlier acts, our Duskfade story explained companion piece walks through the symbolism in detail. The campaign is designed to be replayable, and community testing has found that the second ending lands differently depending on which collectibles you prioritized during your first run.
Key Boss Encounters and Their Story Role
Each boss in Duskfade represents a different emotional anchor, and the Duskfade story walkthrough is incomplete without flagging which bosses are also narrative set-pieces. The fight design is consistent across the campaign — three phases, a mid-fight cutscene, and a parryable signature attack — but the context changes how each fight feels at the moment of the encounter.
| Boss | Approximate Act | Story Role | Mechanical Hook |
|---|---|---|---|
| The Hollow Warden | Act 1 | Introduces the loss motif | Slow, telegraphed swings |
| Crimson Echo | Act 2 mid | Represents unresolved anger | Projectile-heavy second phase |
| The Mirror Twin | Act 2 end | Reflects protagonist's combat kit | Copies your last combo |
| Veil Sovereign | Act 3 pre-final | First acknowledgment of grief | Multi-stage arena shifts |
| The Fade Itself | Act 3 final | The literalized central conflict | All movement |